CC2 Major Assignment - Karplus Strings Synthesiser
My task for CC was to create a string synthesiser that replicates the sound of strings and percussion. I think my final result was okay but didn't sounds as good as I wanted to. There were some bugs in my Max/MSP patch that I didn't have time to fix. I also ran out of time to incorporate the percussion element. Still if you change the envelope the user can still generate percussive sounds.
I am very happy with my graphics for this application. The hours of procrastinating infront photoshop have served me well.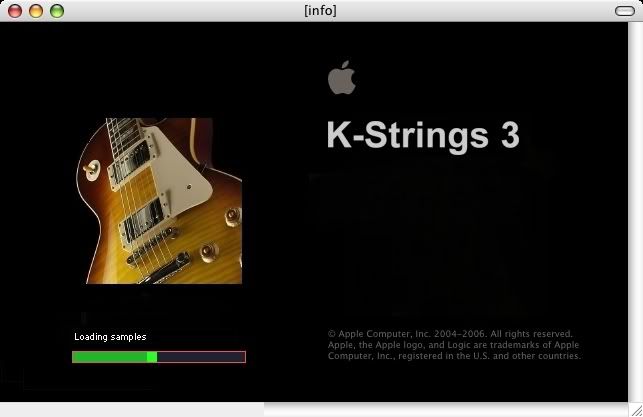 my loading bar. . .
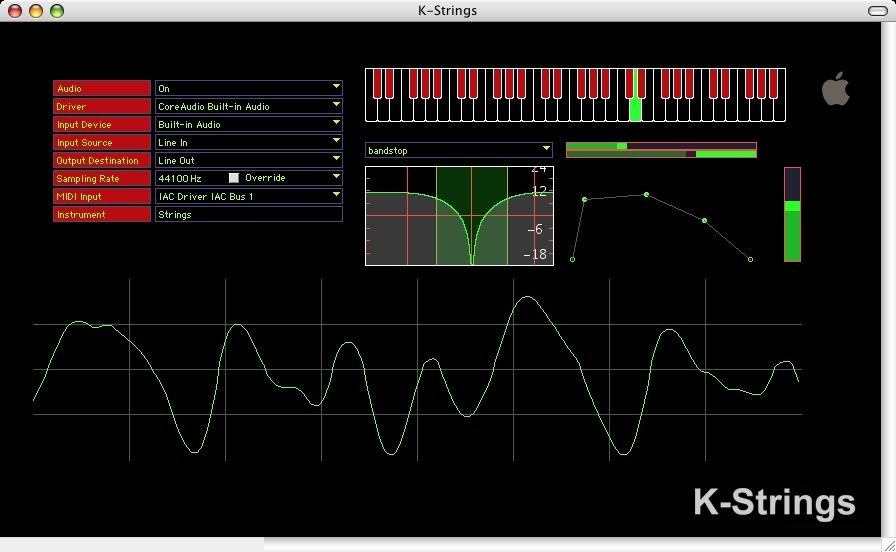 my application. . .
 my splash screen
Downloads
K-Strings Application [5.7MB]
Documentation
Mixdown [2MB]
Max/MSP patch [600KB]
Monday, November 19, 2007
AA2 Major Assignment - Game Sound
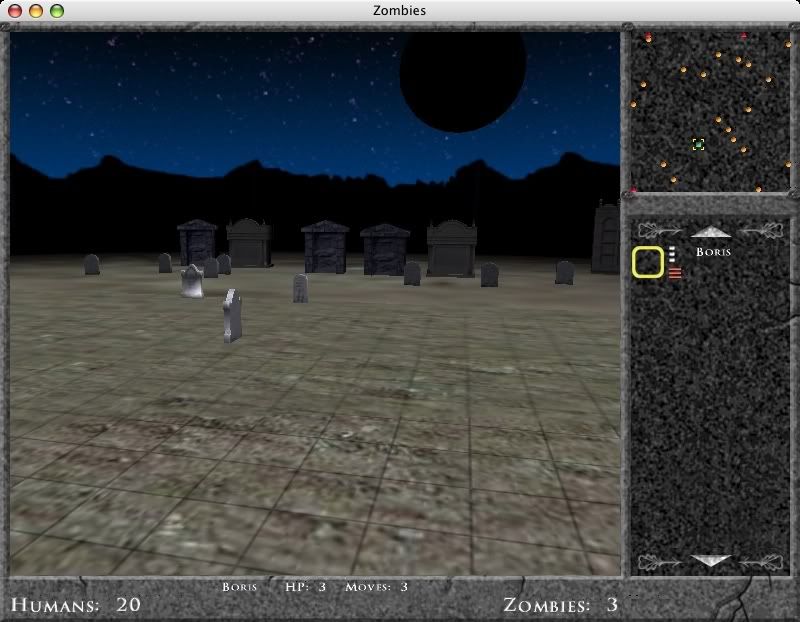
For my Audio Arts major assignment I did the sound FX and music for Zombies. This is a free open source game by Two Guys Games. The sound FX were quite low quality and I downsampled all of my sounds to try and match the same sonic result.
Downloads
Zombies Game [16.1MB]
Documentation
Thursday, October 25, 2007
Week 12 Forum - Instrument Improvisation Part 2
Our final Forum finished with a bang! Much like my Max Patches. We tried an improvisation session again and it did sound relatively better than last week. I thought my piano playing was good towards the end. The only problem is that I didn't build a piano. Maybe next year. . .
I did manage to get some new tones from my instrument. These varying sounds came from moving the alligator clips in my hand. I have a movie of this below. I also found out that if I switch the amplifier to ON instead of OD, the ON/OFF switch works on my instrument. I outlined this problem in the Week 10 post as the third problem. I have no idea why this would happen but it does.
To see an extensive write up on my finished instrument including pictures, movies and notes please visit my Week 10 Forum Post.
AUDIO
Improvisation Snip [1.7MB] 1'14
Entire Improvisation Session [28.6MB] 1:08'05
Yes, I did bounce the entire recording and encode it to mp3. The quality isn't actually that bad.
VIDEO
[44.5MB]
3'00
The improvisation bonanza!
[3.8MB]
0'15
Me demonstrating some new sounds I discovered.
[5.8MB]
0'23
Improvisation at its best!
[1] Steven Whittington. "Music Technology Forum: Semester 2 - Week 12 - Instrument Improvisation". Lecture presented at the Electronic Music Unit, University of Adelaide, South Australia, 25th October 2007.
Monday, October 22, 2007
Week 11 Forum - Instrument Improvisation Part 1
This week we had an improvisation session with the instruments we created. To be perfectly honest I don't think we came up with any nice sounds. Steven had us try a few variations. At one stage we had to perform as soft as possible. For me this just meant turning down the amp. . . ?
Still an interesting session even if there didn't seem to be much progress.
AUDIO
Class improvisation session [7.8MB]
This was recorded off my phone so the quality is very bad. But, will a high quality recording of this collection of noise sound any better?
To see an extensive write up on my finished instrument including pictures, movies and notes please visit my Week 10 Forum Post.
[1] Steven Whittington. "Music Technology Forum: Semester 2 - Week 11 - Instrument Improvisation". Lecture presented at the Electronic Music Unit, University of Adelaide, South Australia, 18th October 2007.
Friday, October 19, 2007
Week 10 Forum - Instrument Presentation
Today in Forum we had to present our instrument. I was happy that my instrument worked and made sound. During my lunch I was having problems with my instrument and I wasn't getting any sound. I worked it out to be one of the switches had gone bust.
Overall I am not that happy with my instrument since there are a lot of features that originally worked but stopped working at the final stages. This is because when I contained all the circuitry in the box it was squashed together and there were problems. The features that originally worked but then stopped were:
1) The switch in the middle of the instrument (i.e. the blue LED) is meant to change the timbre when switched ON and OFF. At the moment there is no changed when this switch is activated. This is VERY annoying because I spent quite a bit of time building this into the circuit. The switch is turning a capacity ON or OFF within the signal.

2) Originally all the LEDs switched ON or OFF depending on their ON or OFF state. This is VERY FRUSTRATING since this feature took the longest and added the aesthetic values of a real, commercial device. The blue switch in the middle originally would have a state of ON or OFF and the LED is only meant to light up when the switch is activated (i.e. turned to ON). The yellow LED originally only lit up when the switch was set to ON also.

The LED that does work is the ON/OFF switch on the bottom corner of the device. However this only works when a battery is in use. I have built a 9V power adapter into my instrument which when in use does not activate the ON/OFF LED switch.
3) Getting back to what I was saying earlier: The switch that went bust was the first switch. If you look at some of the pictures further down the page, you can see that I have attached two alligator clips to the terminals. If I hold them in my hands the sound works. The switch is meant to turn OFF the sound from the oscillator. If I hold the alligator clips in my hand and make some sound, I can still turn OFF the sound by switching to OFF. But, this feature is now pointless since if I drop the alligator clips the sound stops anyway.
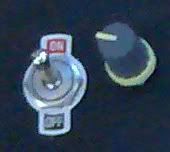
These three fundamental problems with my instrument have caused a lot of frustration in showing my instrument. This is because these features, which I spent hours on and thought would add that little edge to my creation, now don't work. Not happy!
I just hope I get a good mark because I think I spent about 40 hours on this assignment!
In a nutshell my instrument is made up of three parts:
1) A Squarewave Oscillator
2) A Victorian Synth
3) A Piezo Mic
The Squarewave Oscillator is built on the breadboard. Within the circuit is an integrated ON/OFF switch, variable resistor and timbral switch. Whether these features work or not is not the point as they're still there and I spent the time to make them.
The ON/OFF switch works by joining the ground and power wires together on the OFF and separating them on the ON switch. The variable resistor is controlled using a potentiometer and two photo-resistors all in series. The timbral switch, as you already know, is changing the timbre by switching a capacitor ON or OFF.
The Victorian Synth has an ON/OFF switch. This switch does work, it's just the LED that is constantly on (whereas originally it would only light up on the ON position). There is a button that click the speaker. Pressing the button joins the terminals of the speakers and hence makes the sound.
The integrated Piezo was originally going to be inside the box but I was unable to put the Piezo in the circuit in a useful way. Instead I have used it to enhance the Victorian Synth and create other effects such as feedback.
I originally wanted everything to be contained in the box. I didn't think ahead because everything fit inside the box in the early stages. I forgot that once I put the switches and buttons on the top there is going to be less room. This meant that the speaker had to be on the outside. This isn't so bad since it allows me to create sounds by placing the Piezo right over the speaker.
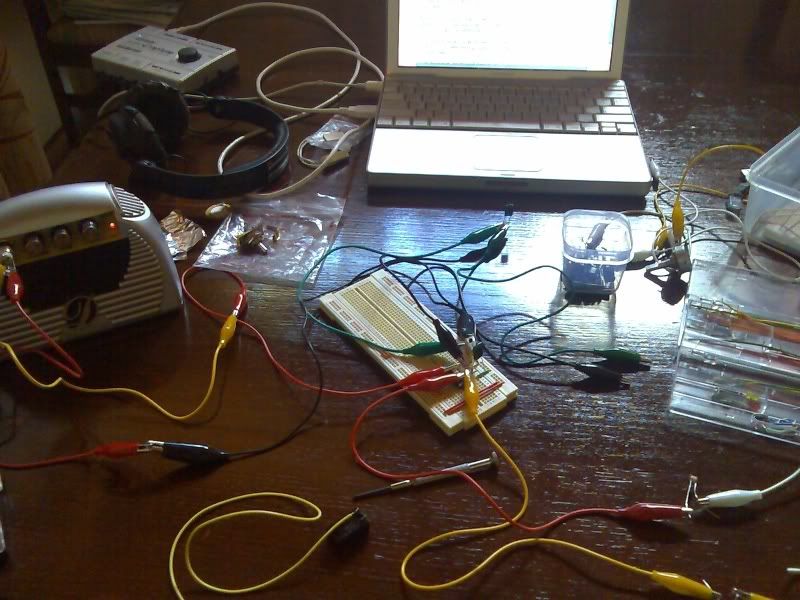
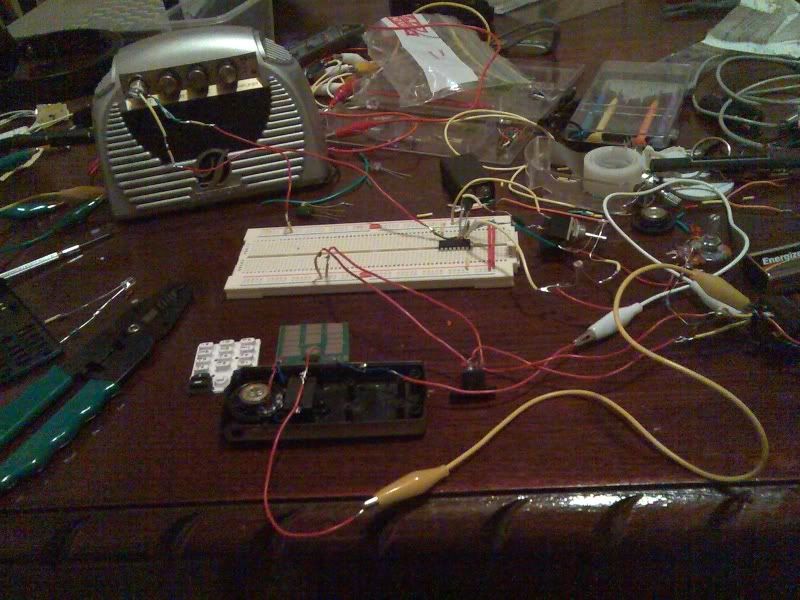
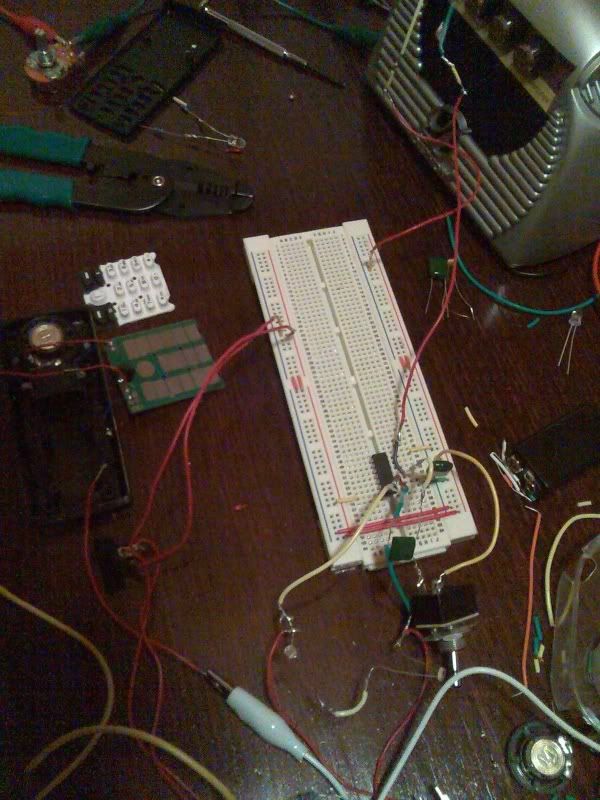
My original idea was to have an integrated circuit bent toy. I found this idea too difficult to implement and eventually gave up after breaking four toys.
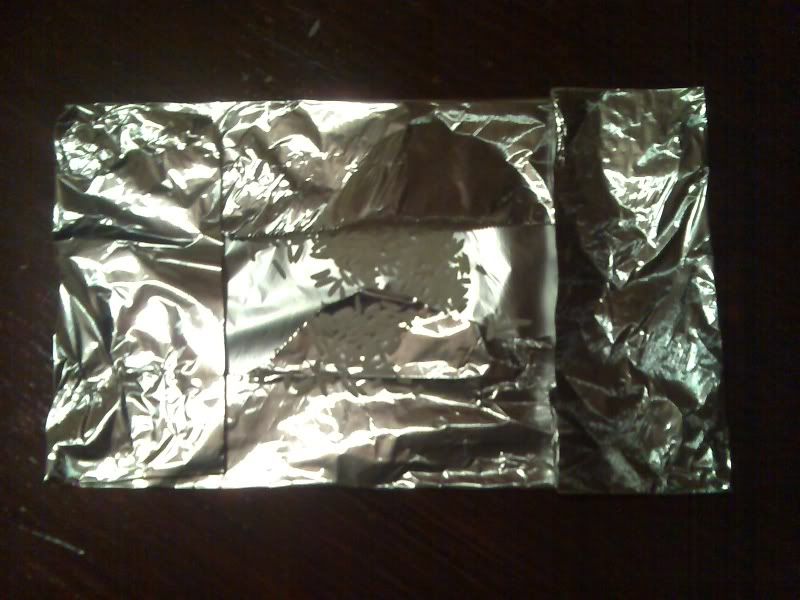
Originally I was going to have some foil with rice inside on top of the Victorian Synth speaker. I canned this idea when I realized I wouldn't be able to contain the speaker inside the box.
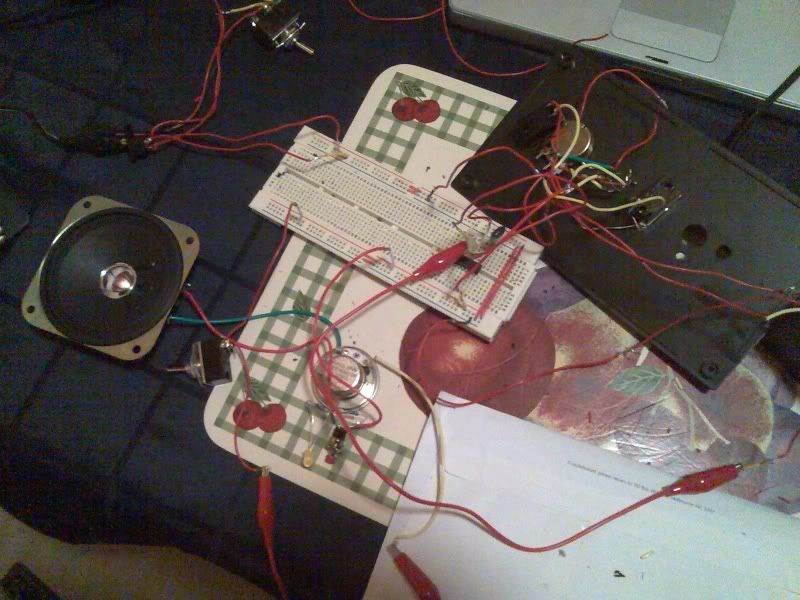
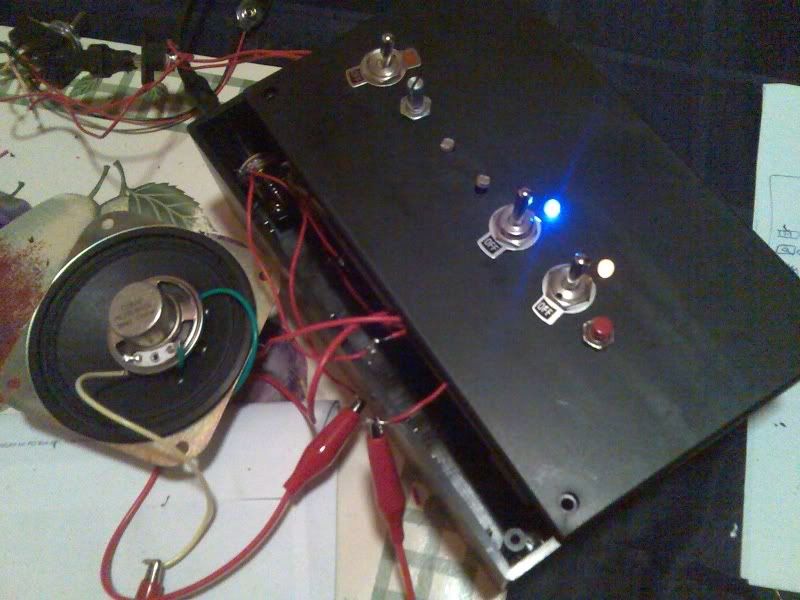
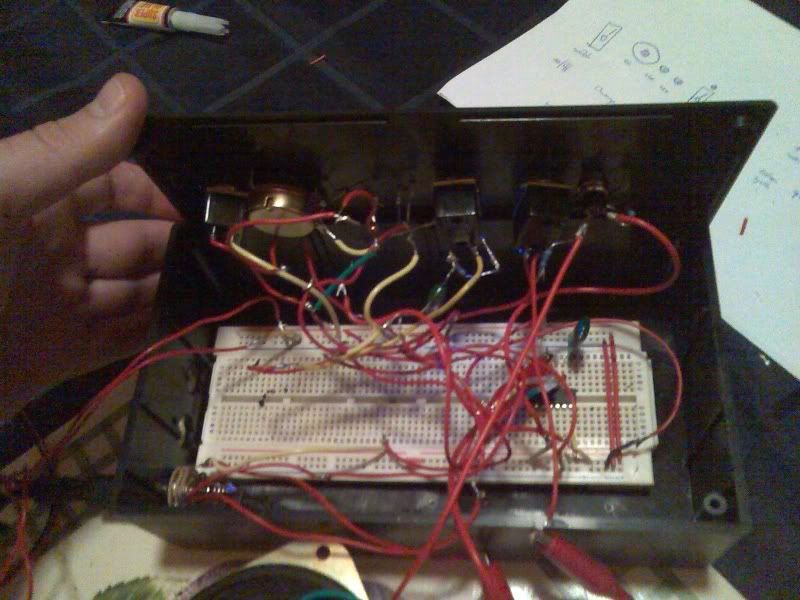
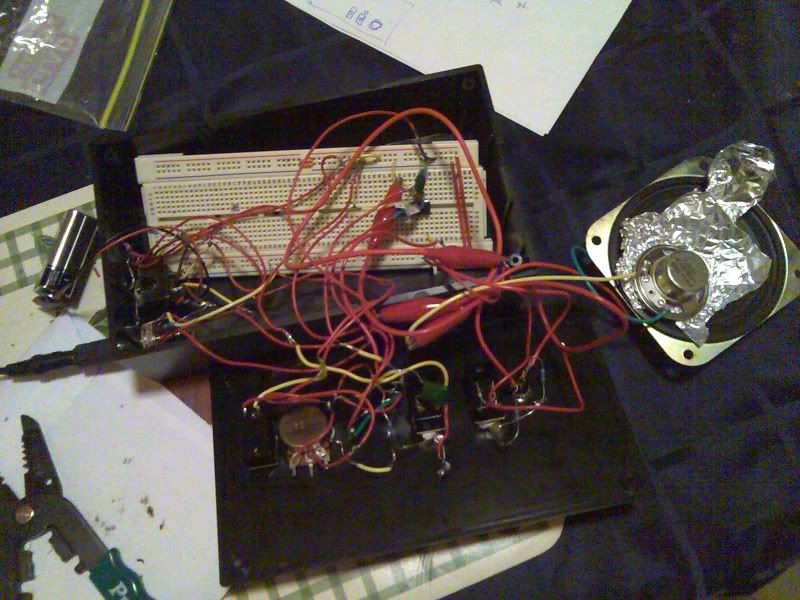
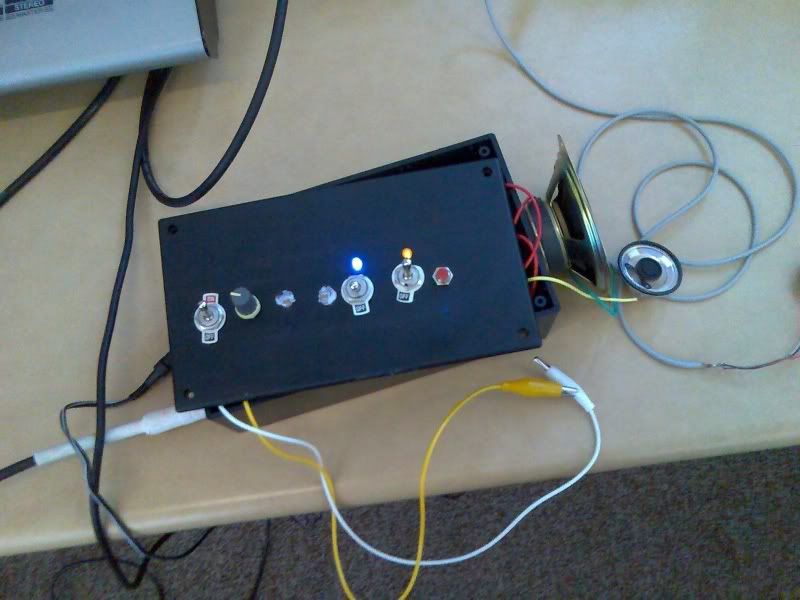
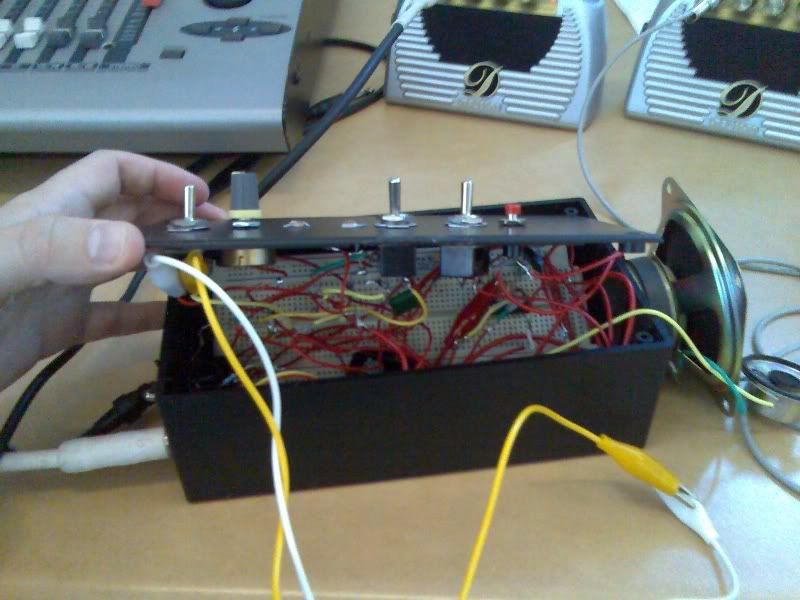
As you can see there are two amplifiers. One is for the instrument output and the other is for the piezo. Ideally I would like to have a small mixer and control the outputs that way.
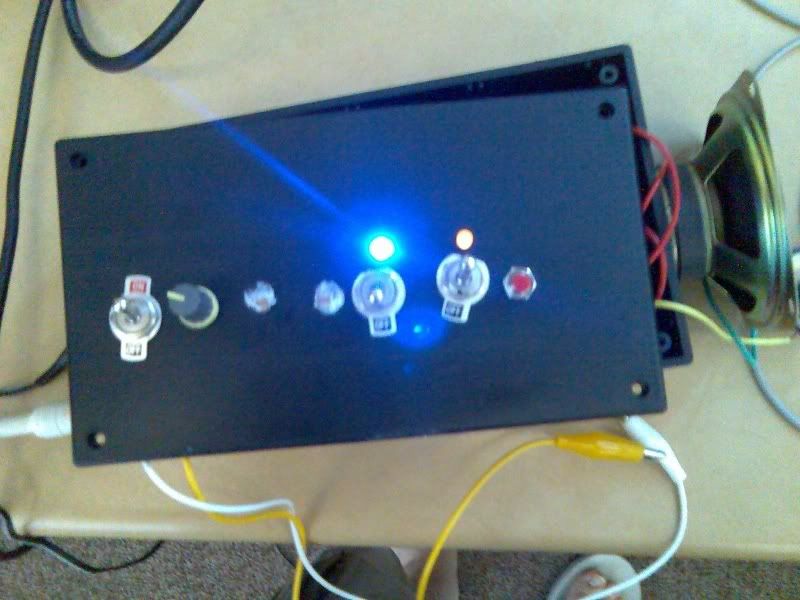
Don't hold your breath. . .
Sound
Improvising on my instrument [1.6MB]
Video
[22.6MB]
[1] Steven Whittington, Seb Tomzac, David Harris. "Music Technology Forum: Semester 2 - Week 10 - Instrument Presentation". Lecture presented at the Electronic Music Unit, University of Adelaide, South Australia, 11th October 2007.
Week 9 Forum - Bent Leather Band
My instrument was meant to be finished by todays Forum class. I am still finishing my instrument off. The drilling is taking a lot longer than I thought it would.
To see an extensive write up on my finished instrument including pictures, movies and notes please visit my Week 10 Forum Post.
Luckily today we had some guest musicians: The Bent Leather Band, so it didn't matter that I hadn't finished my instrument.
This band is made up of two people who make their own instruments and perform the live. I was impressed at the complexity and amount of work they spend on their instruments.
This isn't something I would consider since it doesn't interest me. Still, I respect their work and encourage them to continue.
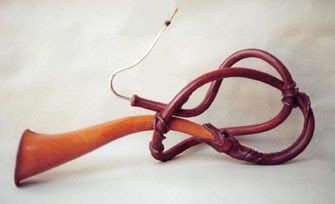 [1]
[1]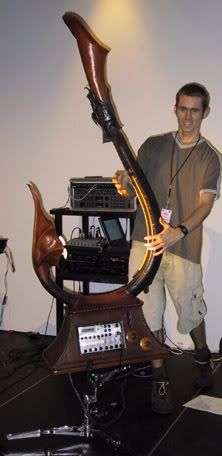 [1]
[1][1] Bent Leather Band, 'Instruments'. http://home.mira.net/~favilla/ (Accessed 4th October 2007)
[2] Christian Haines. "Music Technology Forum: Semester 2 - Week 9 - Bent Leather Band". Lecture presented at the Electronic Music Unit, University of Adelaide, South Australia, 4th October 2007.
Saturday, September 15, 2007
Week 8 Forum - Electronics - Workshop Exercise 1 / Instrument Proposal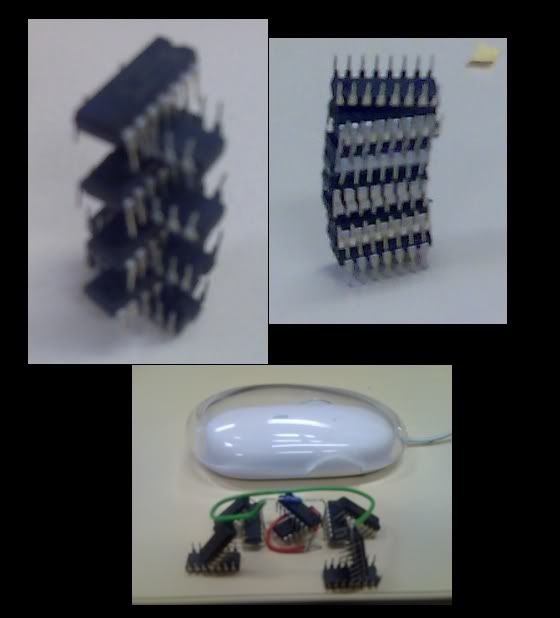
I was bored today. . .
Music Technology Forum Instrument Proposal
Instrument Name: Layered Cake
How the instrument will be played: Button pushing / turning nobs
The sounds it will produce: Tone generator (square & sine wave) filtered with a photo-resistor of varying light. Variations will also be available using pots.
Computer interaction: I am not sure how I will incorporate computer interaction. I would prefer not to do this since it will make the whole process more complicated and raise issues.
Structure of the Instrument:
– Electronic Hacking/Circuit Bending: I will be using a toy to hack and incorporate into my instrument.
– Physical Computing: I may use the Arduino board to interact with Max/MSP.
– Casing and Aesthetics: A wooden case will be use to encapsulate all the components.
– Sketch: 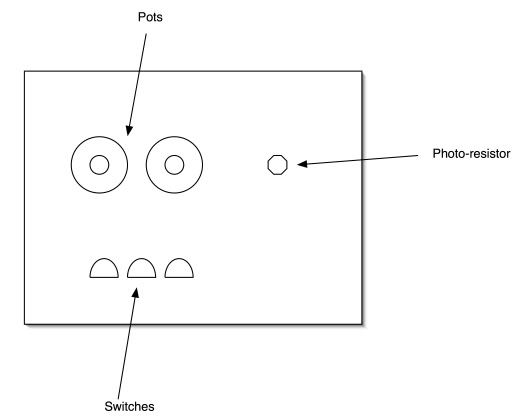
– Issues you see arising: The issues I see arising is being able to create a decent sound to begin with. In the previous weeks I have only been able to come up with very inferior sounds, that to be honest sounded quite annoying.
[1] Christian Haines. "Music Technology Forum: Semester 2 - Week 8 - Electronics". Lecture presented at the Electronic Music Unit, University of Adelaide, South Australia, 13th September 2007.
Friday, September 07, 2007
Week 7 Forum - Physical Computing II
Up until today, I never realised what this tool was meant to be used for. Then I realised: Power. This is going out to who ever has been stealing my pots, resistors and alligator clips. I don't know why you bother taking stuff. You can have my kit in a few weeks for all I care. I'm really not that attached to it. I just wanna get my stuff done. Don't make me resort to striking you down. You have been warned.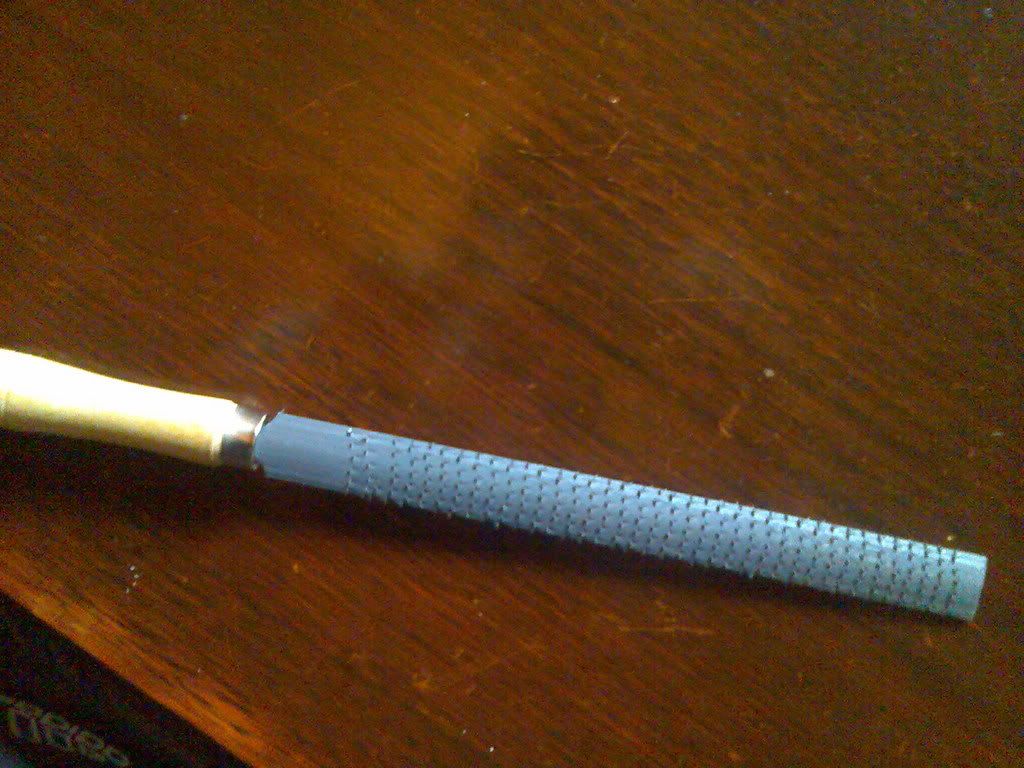
This week's task was an extension of last week's exercises. We were again using the Arduino chip to interact with Max/MSP on the computers in the lab. I was teamed up with Luke and Tyrell, since Will is on life-support at home.
Exercise 1A
[708KB]
Exercise 1B
[2.1MB]
Exercise 1C
[2.5MB]
Exercise 2
[3.7MB]
Exercise 3
[2.7MB]
Exercise 4
[7.4MB]
[1] Christian Haines. "Music Technology Forum: Semester 2 - Week 7 - Physical Computing II". Lecture presented at the Electronic Music Unit, University of Adelaide, South Australia, 6th September 2007.


Will “Rebel Without a Cause” Revill
Audio Director

Jake “The Snake” Morris
Composer

Luke “Dynamic” Digance
Sound Designer

“Craazy” Matt Mazzone
Sound Engineer
[14.2MB]
[1] Christian Haines "Audio Arts: Semester 2, Week 7: Game Audio Aesthetics" Lecture presented at the Electronic Music Unit, University of Adelaide, 4th September 2007.
Monday, August 27, 2007
Week 6 Forum - Physical Computing I
The most frustrating part of this weeks pract was trying to find the right resistors. I am colorblind so it's near impossible for me to differentiate the rings. They all look the same to me.
Something else that was annoying was the fact that the sound wouldn't upload with the movies on youtube. I have placed the audio tracks underneath instead.
Exercise 1 - Stage 1 - Light Up LED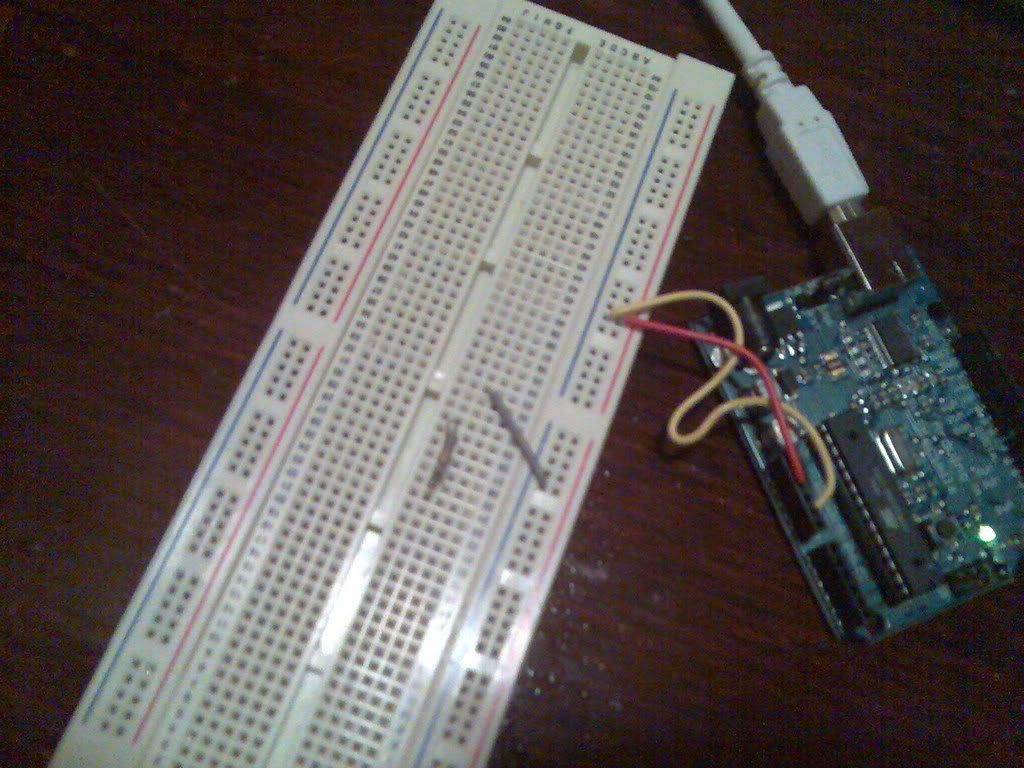
I couldn't finish this exercise because I don't have any LEDs (due to thieves). This is as far as I could go.
Exercise 1 - Stage 2 - Turn On A Square Wave Generator
[16.4MB]
Exercise 1 (Stage 2) [620KB]
Exercise 2 - Stage 1 - Use A Switch To Trigger A Note
[6.8MB]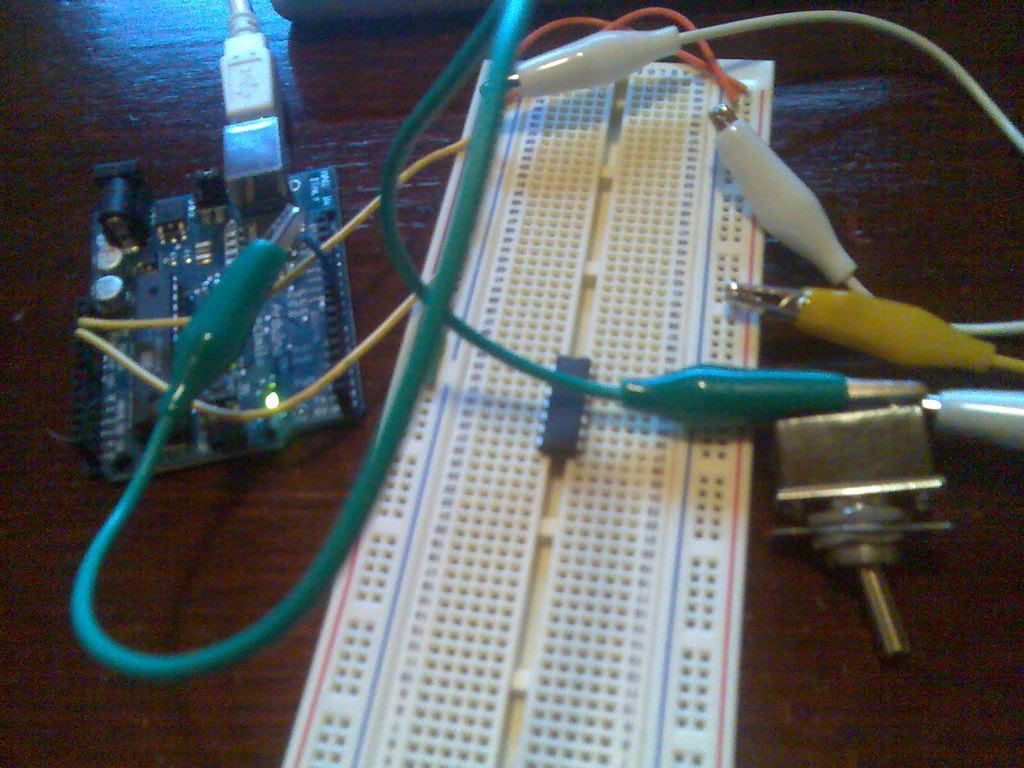
Exercise 2 (Stage 1) [432KB]
Exercise 2 - Stage 2 - Use A Square Wave To Trigger A Note
AUDIO
Exercise 2 (Stage 2) [359KB]
Exercise 3 - Stage 1 - Send Control Data Using A Potentiometer
[7.7MB]
Exercise 3 (Stage 1) [496KB]
Exercise 3 - Stage 2 - Send Control Data Using an LDR
Big suprise, I don't have an LDR because some &$*@!# stole it from my kit. Well at least I didn't have to do the exercise.
[1] Christian Haines. "Music Technology Forum: Semester 2 - Week 6 - Physical Computing I". Lecture presented at the Electronic Music Unit, University of Adelaide, South Australia, 30th August 2007.
Friday, August 24, 2007
Week 5 Forum - Circuit Bending II
In the previous weeks I have done okay and managed to get some sort of result. This week was the first time where I basically wasted hours on end. So, after a very unproductive weekend all I have to show for it are some broken toys and circuits that never worked. At least the pictures look good. I was considering making my own noise and square waves and posting it as the toys' sound. Do you think anyone could tell the diff?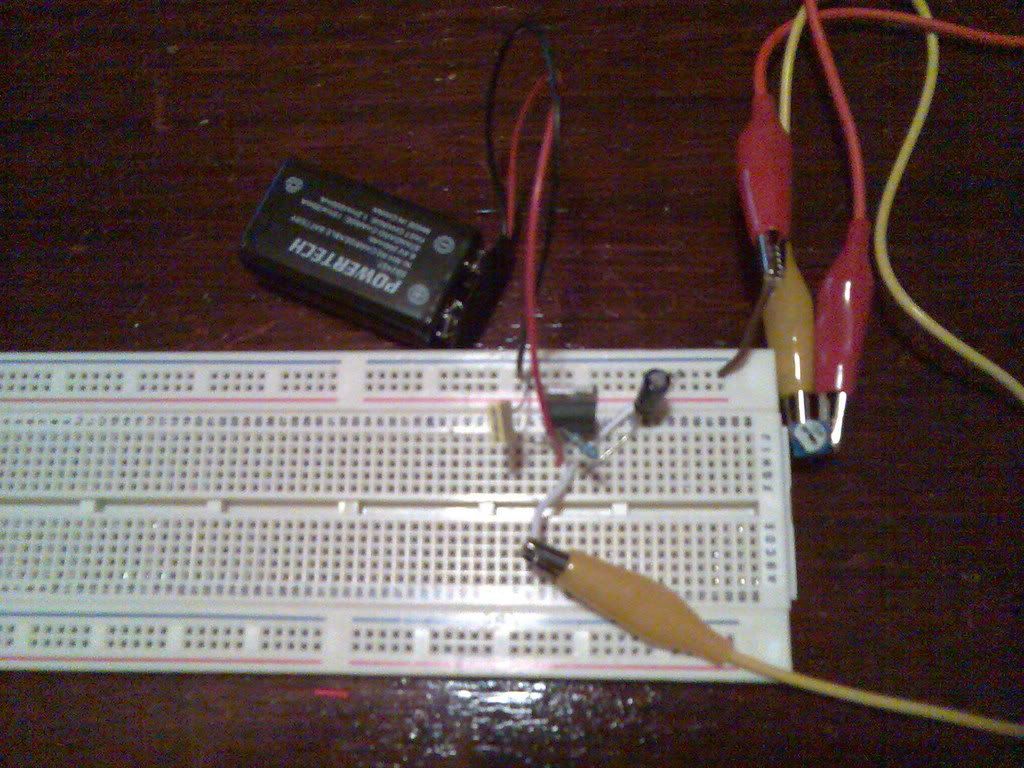
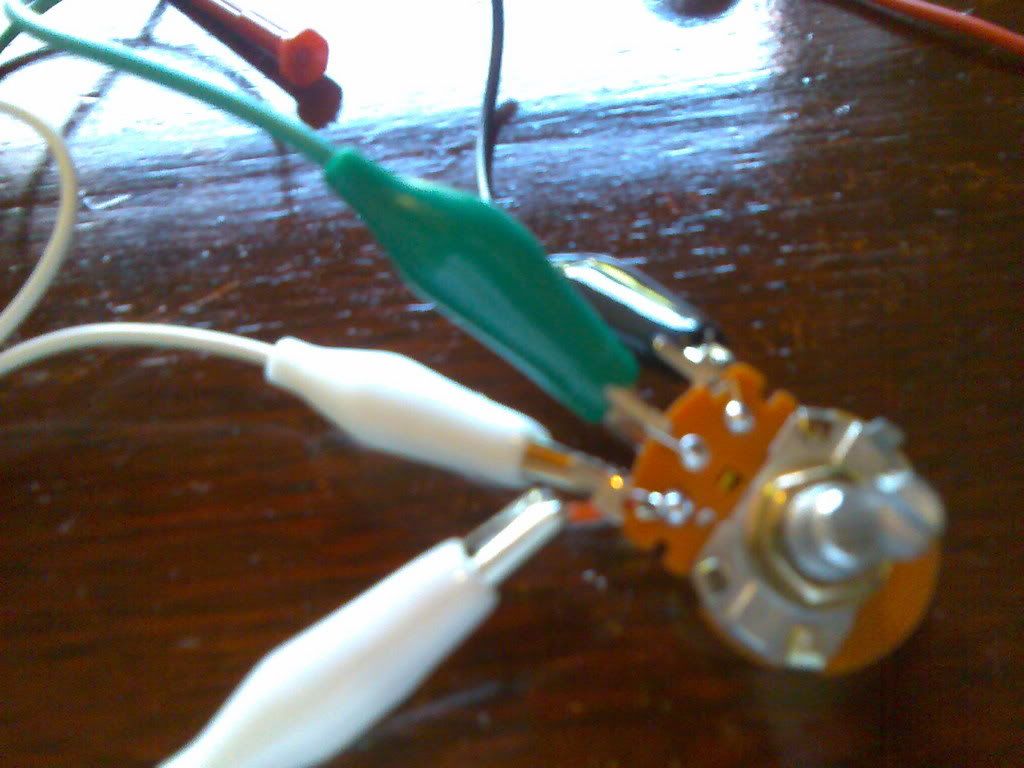
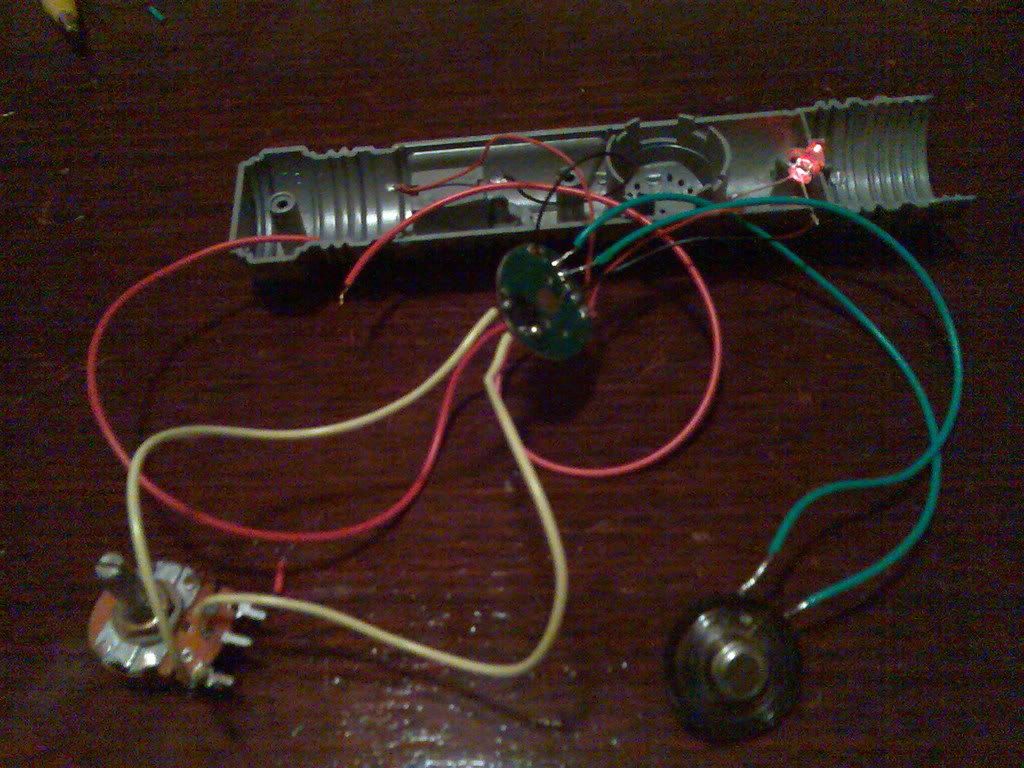
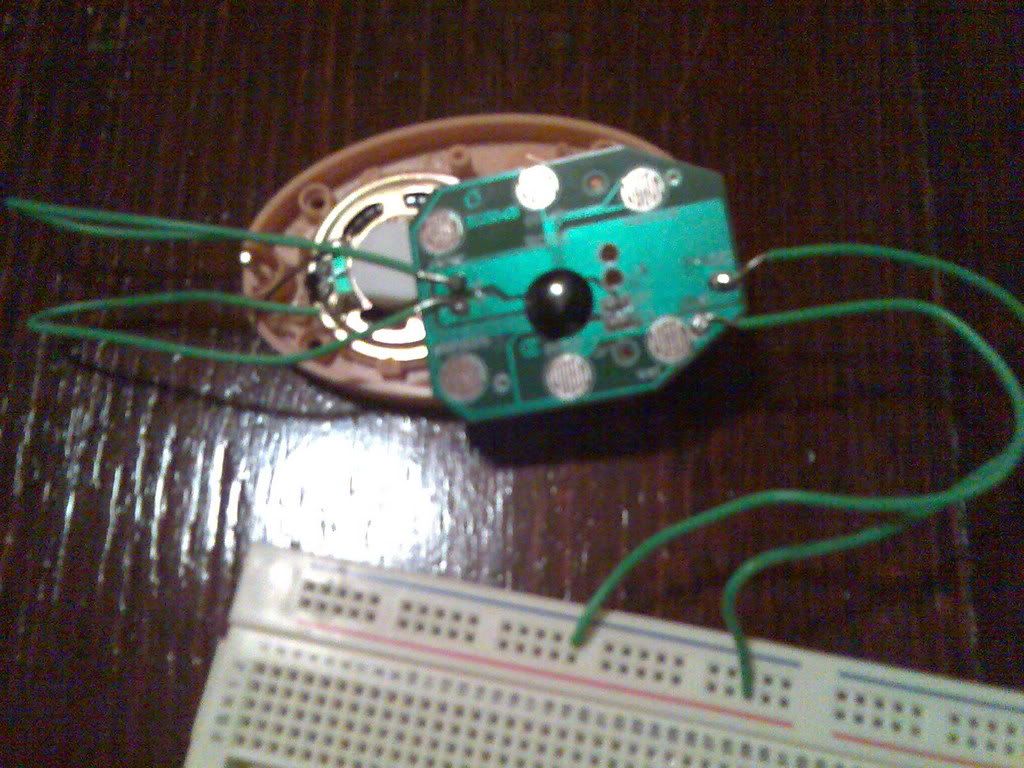
I broke the fart machine not happy!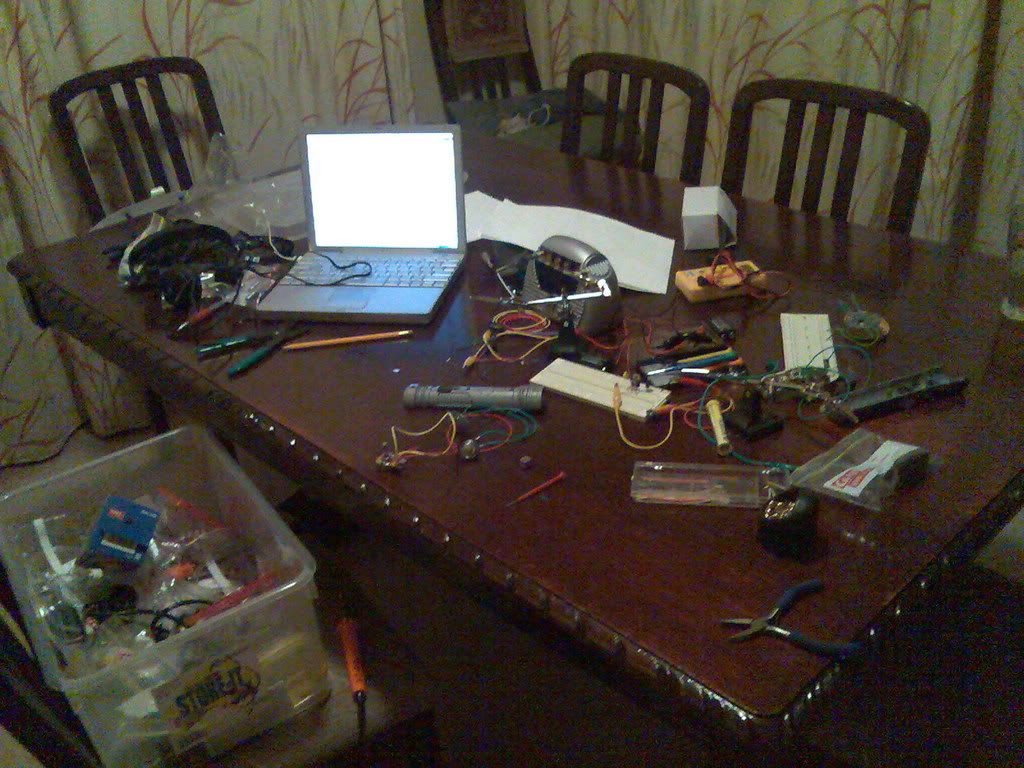
My wasted mess. . .
Sound File
Circuit Bending Audio [439KB]
[1] Christian Haines. "Music Technology Forum: Semester 2 - Week 5 - Circuit Bending II". Lecture presented at the Electronic Music Unit, University of Adelaide, South Australia, 23rd August 2007.
Tuesday, August 14, 2007
Week 4 Forum - Circuit Bending I
This week our task was to circuit bend our own toy. I was all set and went down to the reject shop in town and bought my toy.
The I opened it and was very "annoyed!" (university blog language)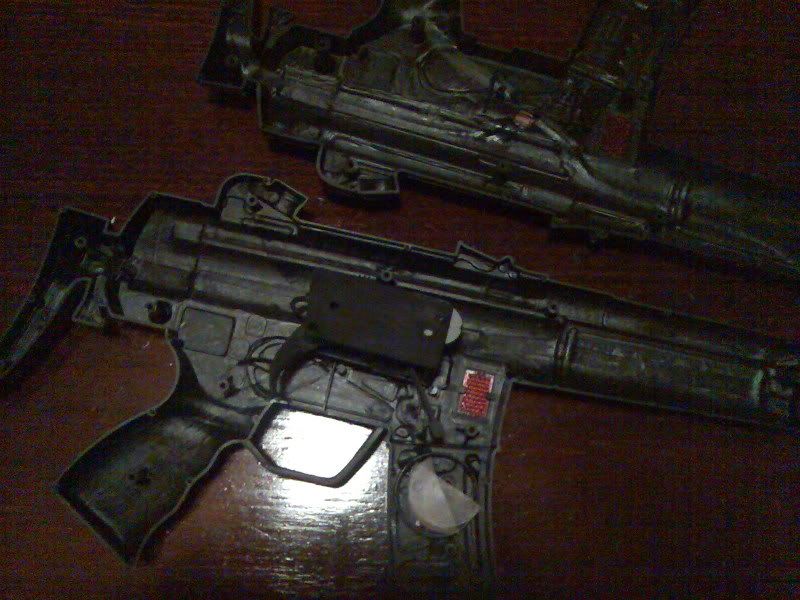
Turns out there wasn't any chip inside of the gun even though the front claimed it had a light near the trigger. I obviously had to go back to the shops and I couldn't find anything. Before almost giving up I did find this. . .
[6.2MB]
I then proceeded to take this toy apart to explore what was inside.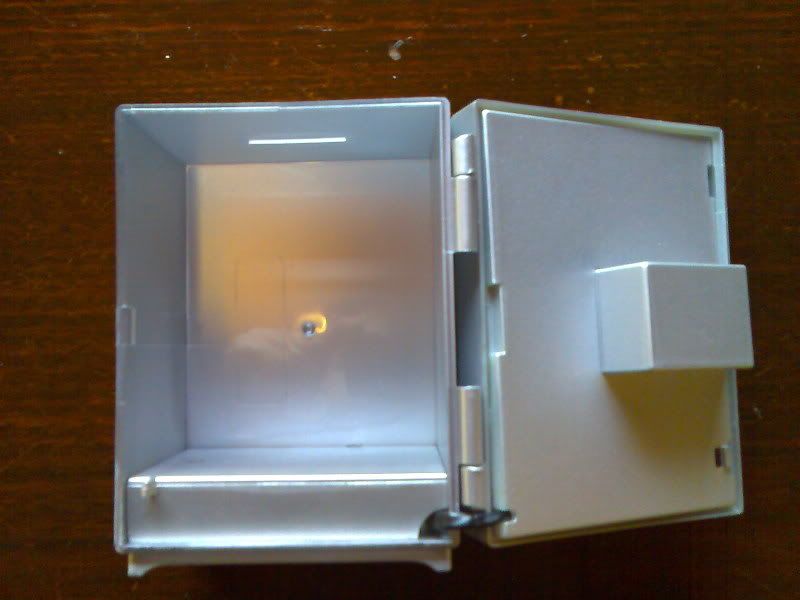
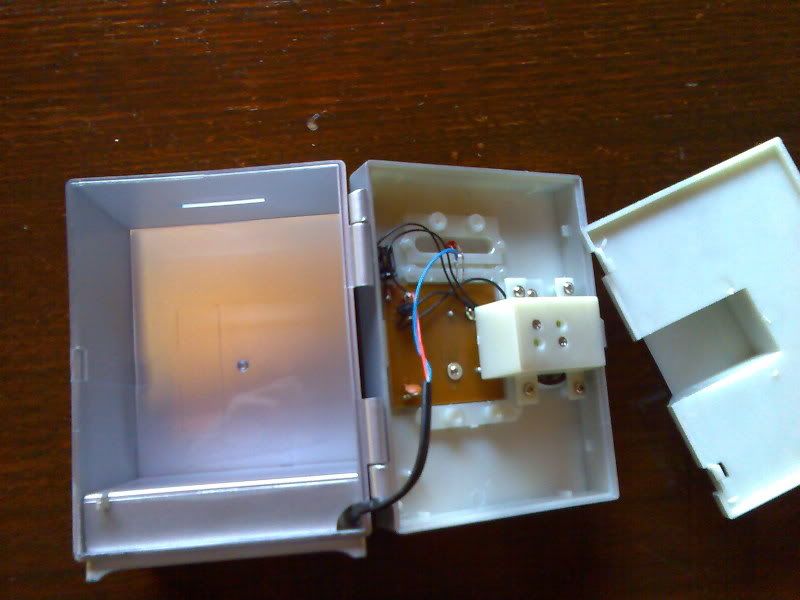
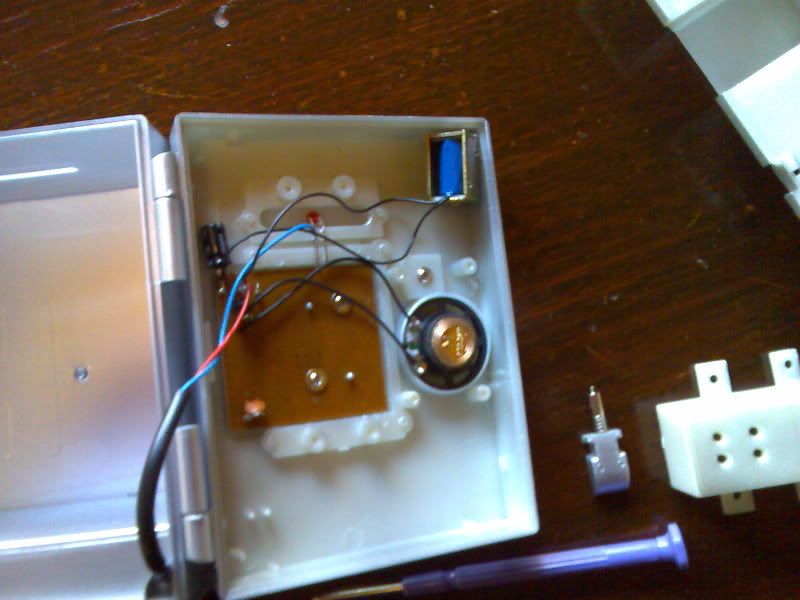
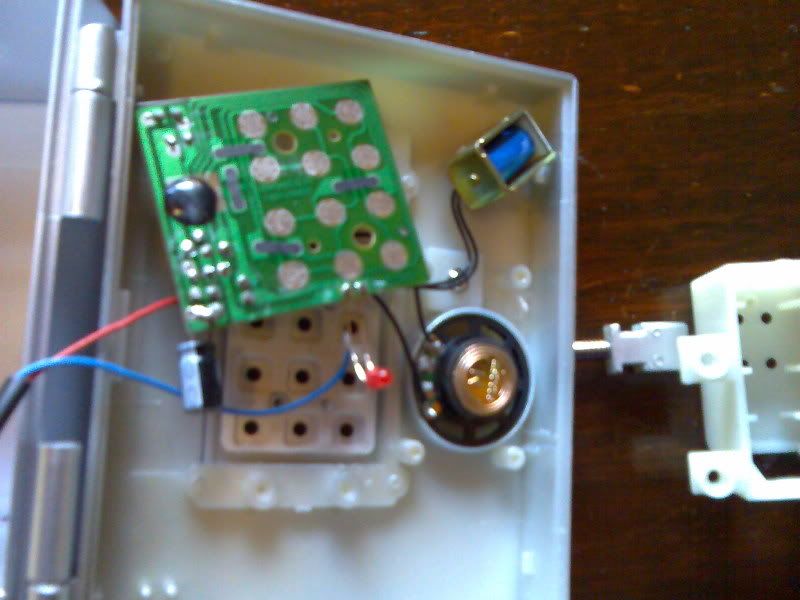
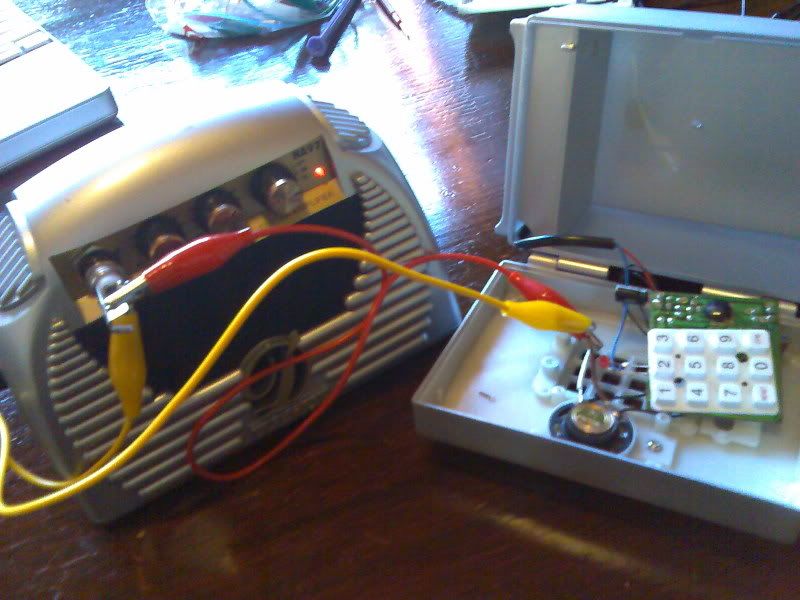
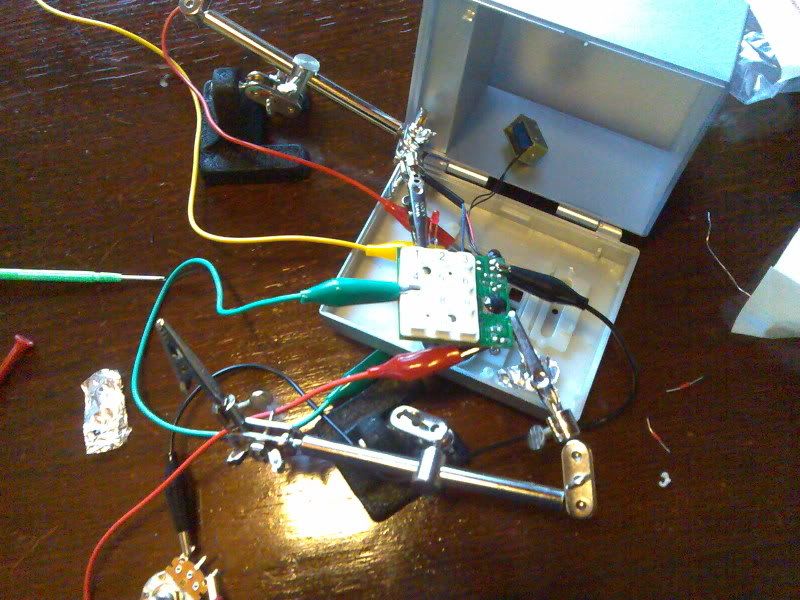
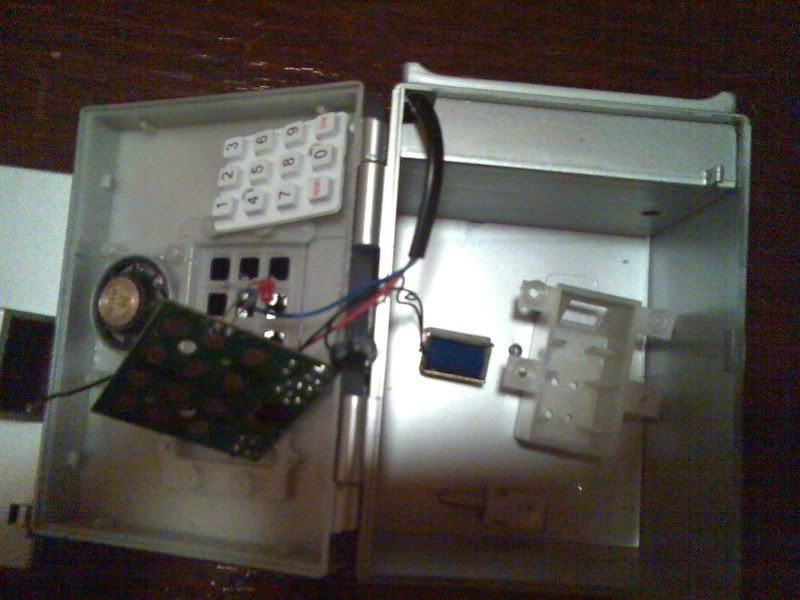
After I completely stuffed it up. . .
[41.7MB]
Just so you know this stank! I could smell burning plastic and the foil was getting heaps hot! I definitely shorted the circuit!
Sound File
Circuit Hacking [484KB]
[1] Christian Haines. "Music Technology Forum: Semester 2 - Week 4 - Circuit Bending I". Lecture presented at the Electronic Music Unit, University of Adelaide, South Australia, 16th August 2007.
CC2 Week 4 - Synthesis I - Additive Tremolo RM & AM
[1]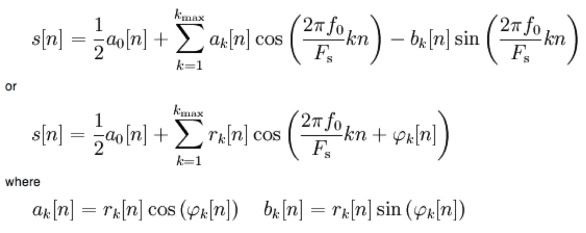
When I listen to my patch this is what I see. . . 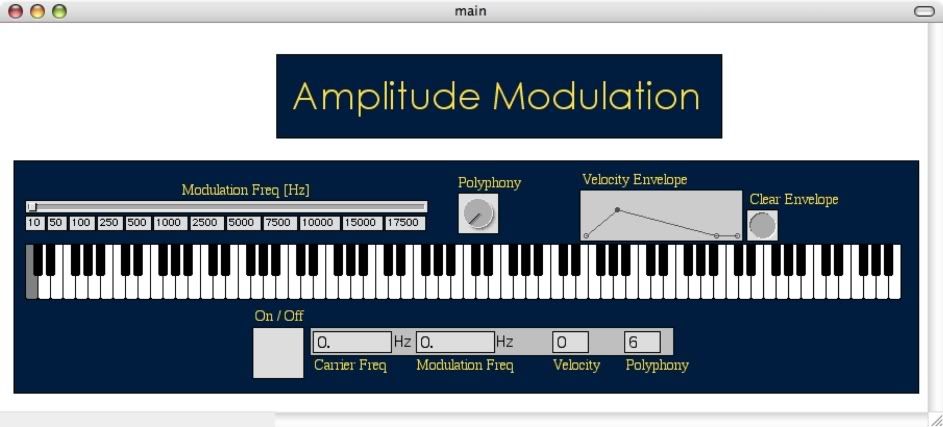
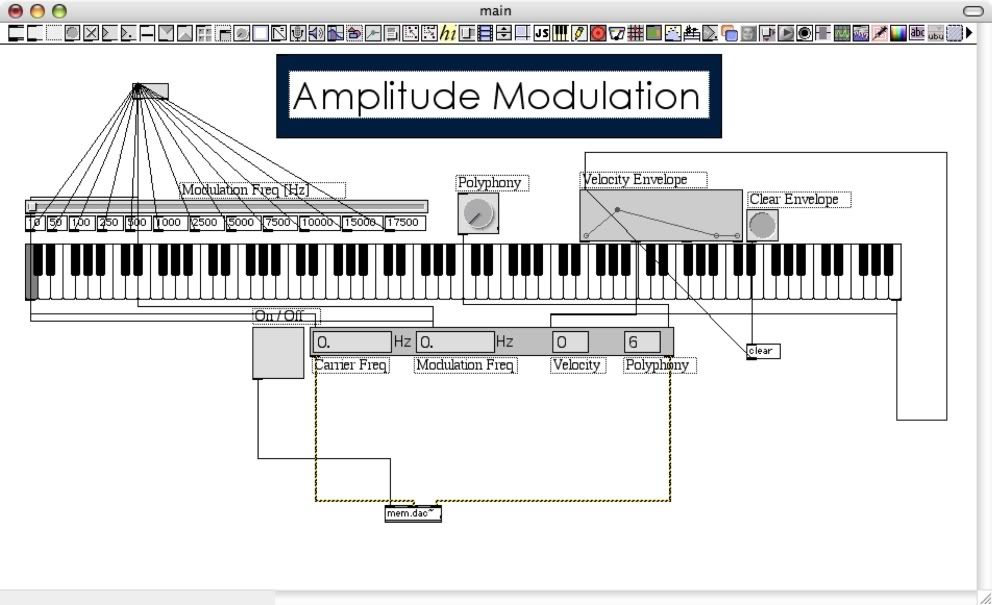
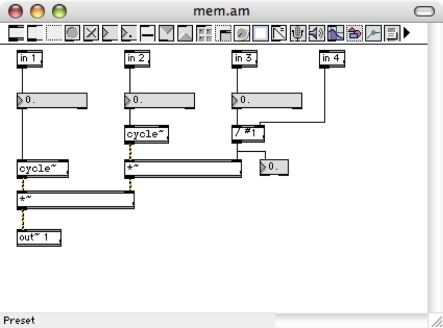
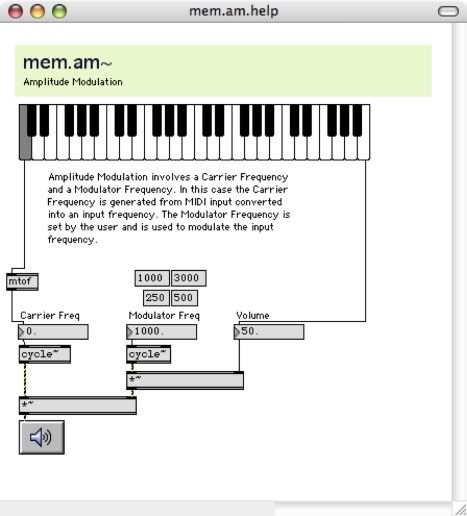
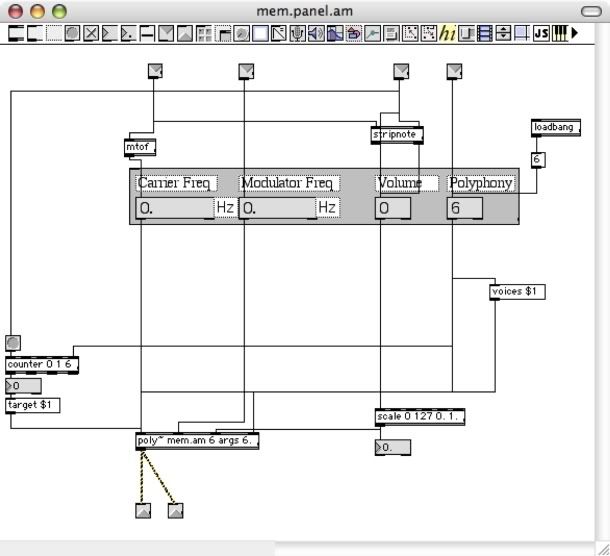
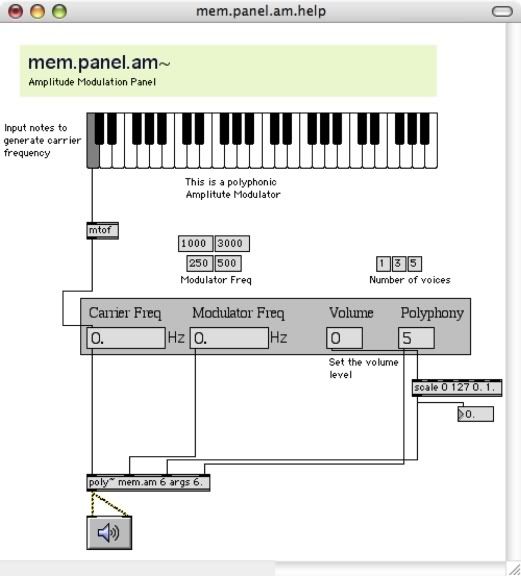
Max Patches
Patch + Max Objects
Sonic Result
[1] wikipedia, 'Additive synthesis'. http://en.wikipedia.org/wiki/Additive_synthesis (Accessed 2/9/7)
[2] Christian Haines. "Creative Computing Lecture - Semester 2 - Week 4 - Synthesis I - Additive, Tremolo, RM & AM". Lecture presented at the Electronic Music Unit, University of Adelaide, South Australia, 16th August 2007.
